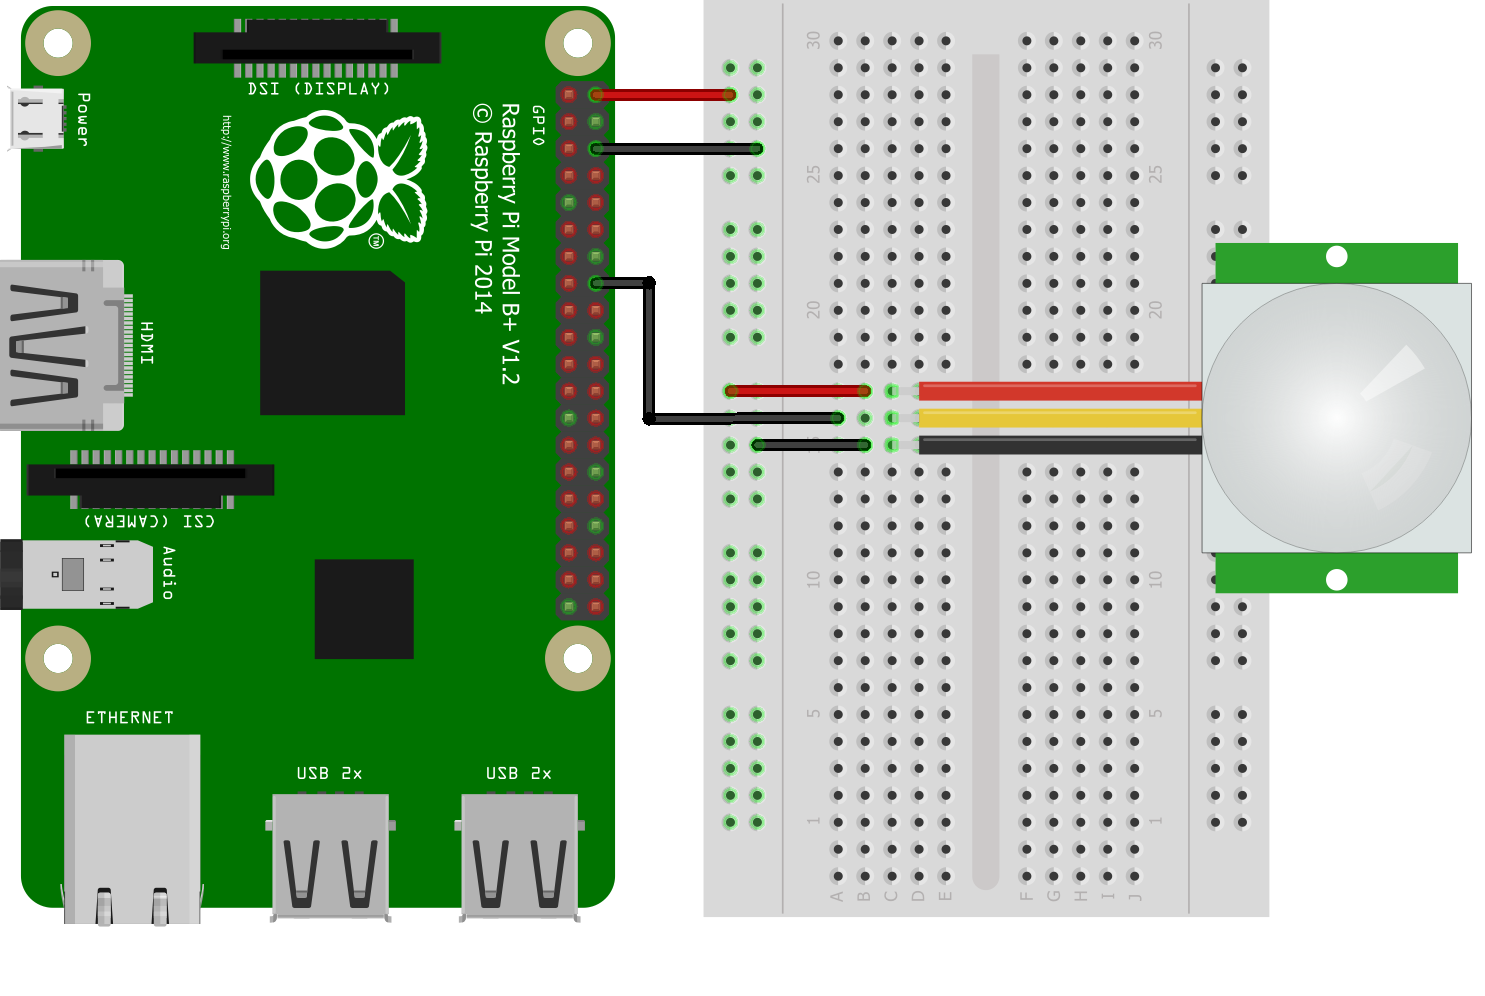
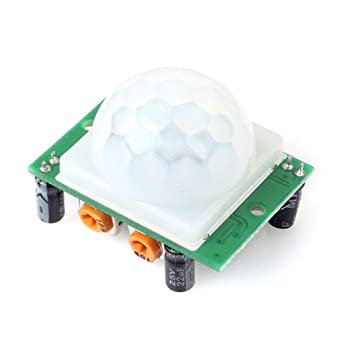
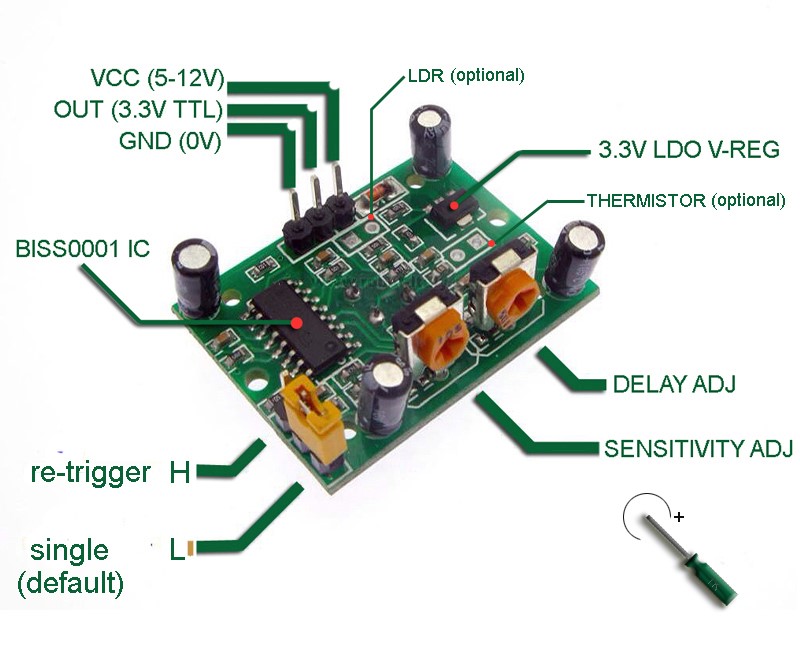
PIR SENSOR INTERFACING WITH RASPBERRY PI
In this project the PIR sensor connected to Raspberry Pi, detects any motion of a person and turns LED ON and turns OFF the LED when no motion is detected by it.
Synopsis:

In this project the PIR sensor connected to Raspberry Pi, detects any motion of a person and turns LED ON and turns OFF the LED when no motion is detected by it.

Description:


PIR Sensor:

PIR stands for Passive Infra-Red sensor. As the name says, it is a passive sensor which means it does not emit any infra-red rays but it senses the infra-red rays around the sensor range. The IR sensor is covered with a passive cube that has many layers of lenses in to collect different wave patterns. Every living being generate heat waves and these are detected by PIR sensor and senses the motion. When the thermal signal is detected this sensor produces high analog signal and when nothing is detected it produces low analog signals.


Raspberry Pi:

Raspberry Pi is a low cost, small size computer that plugs into a computer monitor, and uses a keyboard and mouse. It is capable device that enables us to explore computing and to learn how to program in languages like scratch and python. It is capable of doing what we expect a computer to do. It has many interfaces like HDMI, multiple USB, Ethernet, onboard Wi-Fi and Bluetooth, GPIOs, USB powered etc. also supports to LINUX, Python to make easy to build applications. Raspberry is available in different versions the latest version of Raspberry Pi is Pi3+ Model and the Updated version is Pi4 model. In Raspberry Pi 3B+ Model this model is having 64-bit quad core (processor) running at 1.4GHz, dual band 2.4GHz, 5GHz wireless LAN, Bluetooth 4.2/BLE, faster Ethernet, and PoE (power on Ethernet) capability with separate PoE HAT. Raspberry Pi3 Mode B+ maintains the same footprint as raspberry Pi2 and Raspberry Pi3 Model B.


Pin configuration:

1. Vin: Two 5v pins and two 3v3 pins used for providing power supply, where processor works on 3.3v.

2. Ground: Having 8 ground Pins which are un-configurable.

3. GPIO: There are 26 input-output pins which will be used as input or output based on programming.

4. PWM: In software PWM are available for all pins but in hardware PWM is available for GPIO12, GPIO13, GPIO18, and GPIO19.

5. 2 SPI bus: These pins are used for SPI communication the pins which are used for SPI is MISO, MOSI, SCLK, CE0, and CE1

6. I2C: These pins are used for I2C communication in which DATA and CLOCK pins are used for sending data to and from the SDA connection, with the speed controlled with SCL pin and ID-SE, ID-SC are reserved for ID EEPROM.

7. TX and RX: This pins are used for UART communication.

Schematic:


Code:

import RPi.GPIO as GPIO

PIR=20 # Read PIR output

GPIO.setwarnings(False)

GPIO.setmode(GPIO.BOARD)

GPIO.setup(PIR, GPIO.IN)

while True:

if(GPIO.input(PIR)):

print(“Human Detected”)

else:

print(“Human Not Detected”)

Error message here!

Show Error message here!


Forgot your password?

Error message here!

Send OTP

Error message here!

Show Error message here!


Lost your password? Please enter your email address. You will receive a password you Need.

Send Error message here!


Back to log-in

Close